Real estate photography is a challenging but interesting and potentially lucrative career. It can be a decent income or a full-time job!
At first glance, this seems simple enough – just photograph houses and rooms and get paid! However, there is of course a lot more work to do, from preparing and shooting to finding clients, communicating with them, and making sure they are happy with the beautiful final product.
That’s why we’ve created this quick but comprehensive tutorial to help you get started. We’ll continue this series with additional tips on actually shooting real estate, the equipment needed, post-production, and the business side of things.
Step 1 | Get the Right Gear For Real Estate Photography
Believe it or not, while real estate photography requires some unique camera equipment, none of them are particularly fancy or expensive. This is due to the fundamental nature of the subject (e.g. indoor or outdoor images)
You are shooting a static subject that you have full control over. This means you don’t need a camera with expensive features like motion-tracking autofocus or high frame rates, etc.
Two camera features that will really come in handy are the ability to create multiple exposures and the ability to trigger the flash. Fortunately, all premium/serious cameras (even most entry-level models) have both.
So what is the most important equipment? Sturdy tripod.
Next up is the wide-angle lens. However, since you’re on a tripod most of the time, your lens doesn’t have to be an exotic fast lens, it just needs to be a wide-angle or so-called ultra-wide-angle lens.
If you have those two things (a sturdy tripod and a wide-angle zoom lens), almost any camera body will do the job! Even a cropped sensor camera body can be used for absolutely professional results (as long as your wide-angle lens is designed for that body).
A fourth very useful item is a simple wireless flash. You can use it to illuminate interior spaces, bounce the flash off the ceiling and walls behind the camera, or use a diffuser like an umbrella or softbox. This piece of gear isn’t entirely important, though, so don’t be intimidated by the idea of buying a softbox, light stand, and wireless triggers!
Step 2 | Get Image Editing Tools for Real Estate Photography
Even if you have a sturdy tripod, a great camera, and the best lens for the job, you still need to know how to edit the images you capture! Almost all professional jobs must have an original machining program. However, real estate photography requires advanced Photoshop processing as well as HDR (High Dynamic Range) processing applications. You may even need to batch multiple HDR images for some jobs.
Adobe Lightroom and Photoshop can do a lot on their own.
Step 3 | Learn and Practice Photographing Real Estate
It is important to practice and determine the capabilities of your camera equipment before going into paid employment. Not only does it help you be productive when you have a “real” job, but it also helps you ensure highly professional results.
Stay tuned for this series as we cover real estate photography techniques, tips, and tricks in subsequent articles in this series. First, here are some important concepts.
Understand What Images to Capture
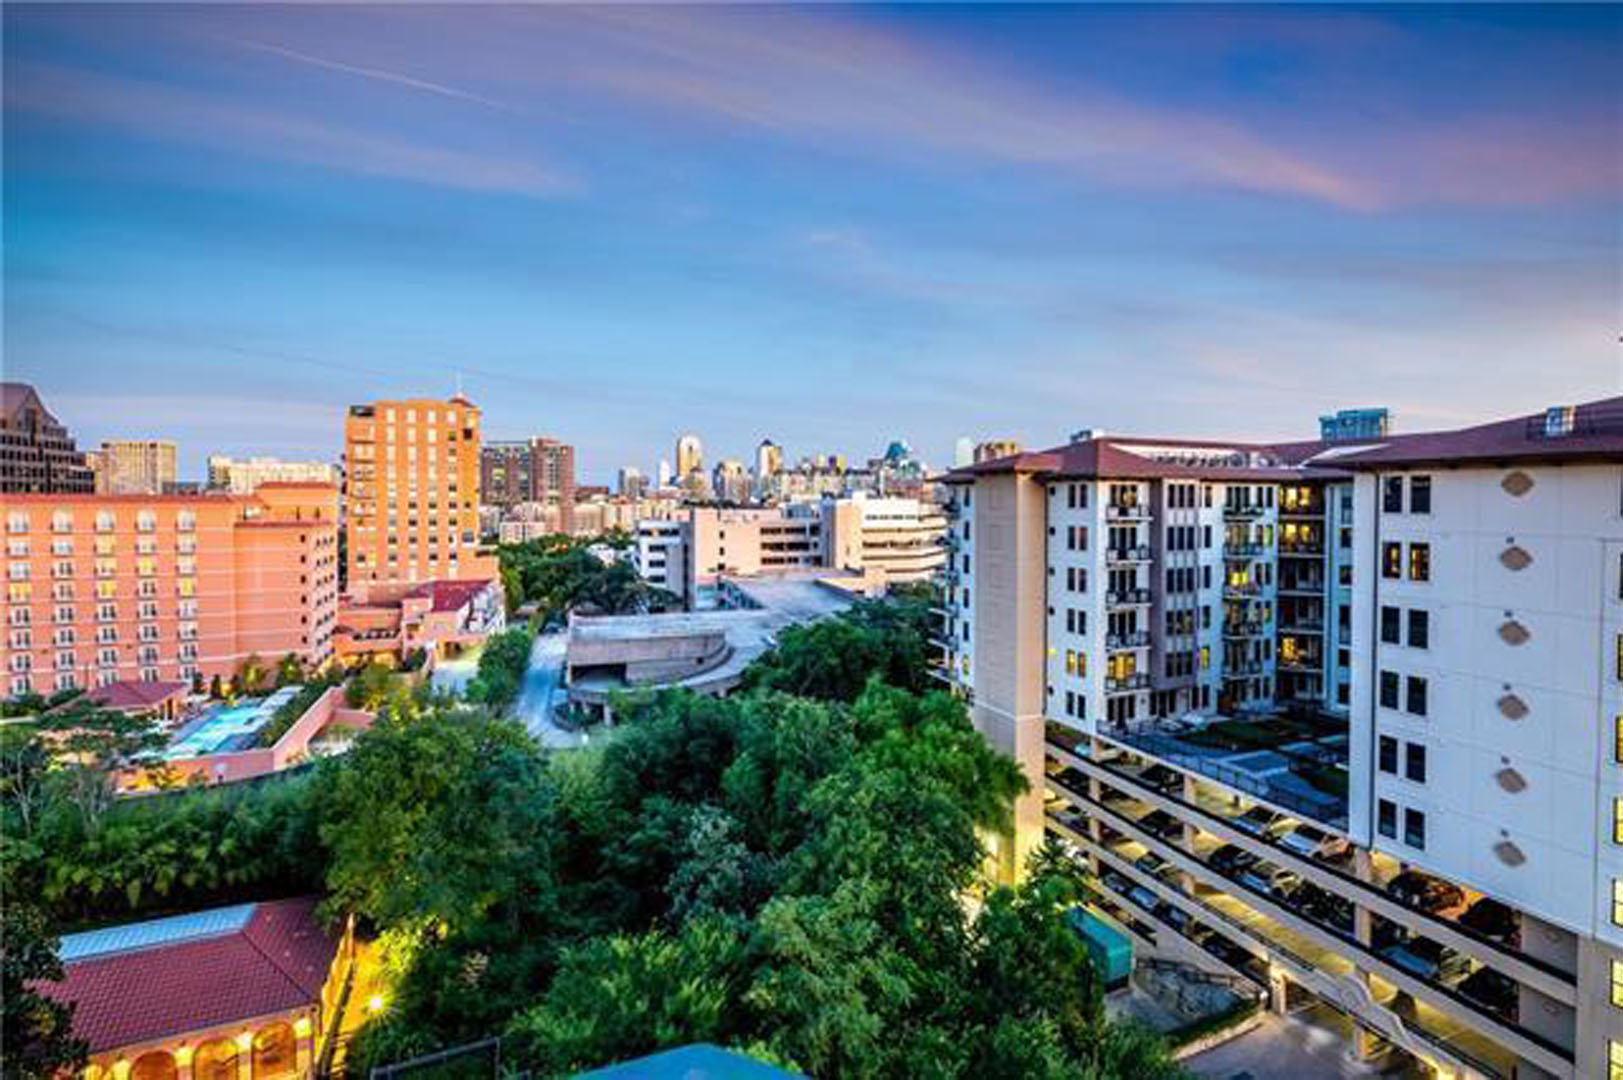
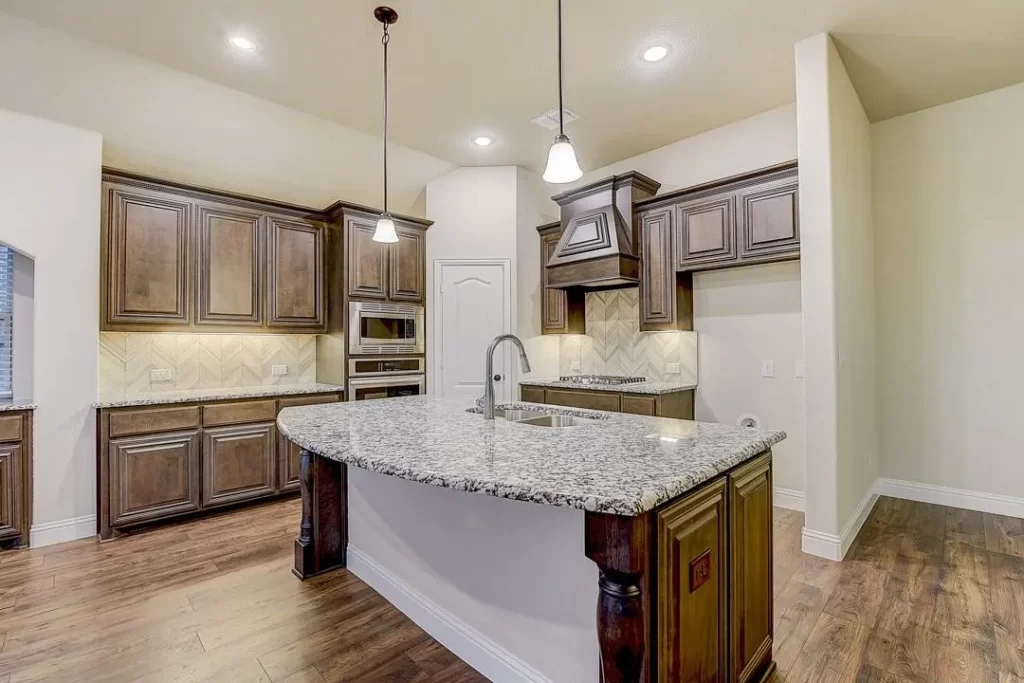
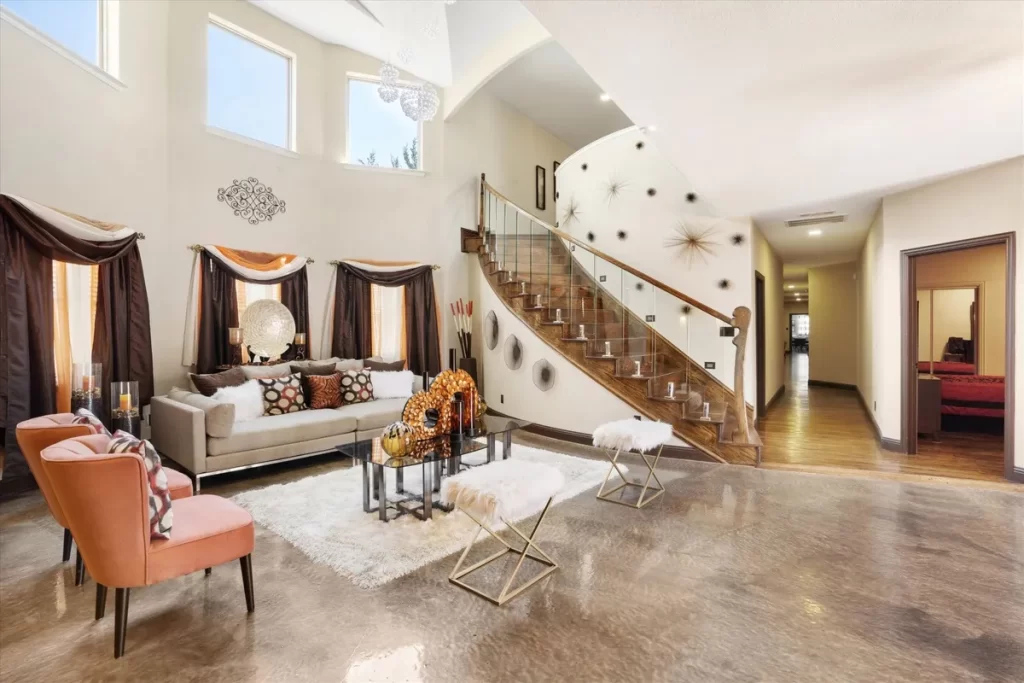
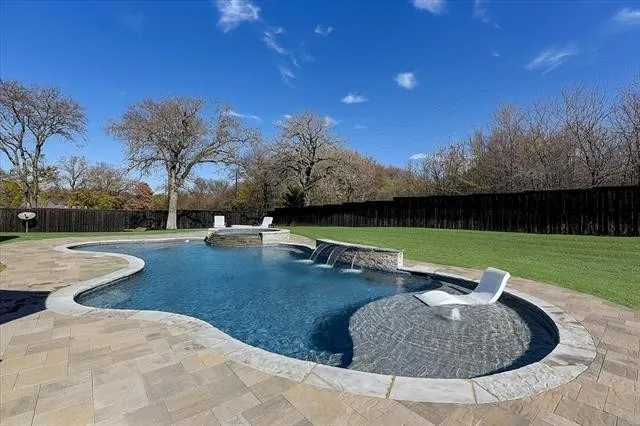
Start with understanding the right images to capture. The best thing you can do is practice, while closely studying existing property listings and images of the types of things you’re most likely to photograph. As a general rule, get one or two images of every interior room, (or have the client make a list of the specific rooms they want to be photographed); and get 3-5 images of property exteriors, including the front yard and the backyard.
Watch Your Angles
Be careful not to angle your camera upward or downward too much, because vertical lines should usually appear as close to perfectly vertical as possible. This can be corrected in post-production, but only to a certain degree.
Understand The Dynamic Range Of Your Camera
Digital camera sensor dynamic range has come a long way in the last 10 years, but it’s still not infinite. You should always understand just what your camera is capable of; never tell yourself, “oh, I can recover those shadows in post-production!”
Even if you just bought a fancy new camera that everybody says has amazing shadow recovery, you still should perform a test. Shoot a dramatic sunset with property or other subjects that are incomplete shadows, start by saving your highlights, and see how many stops (EVs) you have to brighten the exposure before you can see into those shadows.
Since exterior property images are almost always best at sunset or twilight, you’ll want to make sure you always capture the full dynamic range of a scene when you’re on the job. Unfortunately, each camera has very different setups for exposure bracketing, so play around with it and make sure you know exactly how to bracket a scene very quickly before you go out on paid jobs!
Building A Portfolio For Real Estate Photography
Getting into any portfolio-related business is always a catch-22: how can you get professional work if you don’t have a portfolio of professional images to show potential clients? Thankfully, real estate photography is one of the easiest fields to build a great portfolio!
First and foremost, you can of course practice in your own home, if you can make some of the rooms presentable enough. Or if you have a friend who has an ideal home, they might be willing to allow you to photograph a couple of rooms.
Also, anything that you can photograph in a public place is fair game! Just be respectful and safe, as always. (It helps to carry business cards stating that you’re a photographer.)
Of course, you can always cold-call real estate agents in your area. You might get a “no” 19 times, but the 20th might be a yes… Alternately, sometimes online vacation rentals (Air BnB, VRBO, etc.) could use a few great interiors and/or exterior images.
Lastly, keep in mind that this is just your portfolio, not an actual property listing. As such, feel free to use Photoshop extensively to clean up and beautify your images! If there’s a window with a brick wall or an ugly backyard outside, try swapping it for a beautiful view of a beach or a mountain. Such tricks would never be allowed in an actual listing, of course, but it’s good practice for your Photoshop skills! (One thing that is very common in actual property listings is, using Photoshop to swap a boring sunset sky with a more dramatic one.
Real Estate Photography Business – Getting Work
When you’re ready to actually charge money, it may not be enough to simply put your portfolio online and get business cards printed. These days, the process of “breaking into” any photography market is pretty involved, and often a long-term game.
Firstly, of course, you’ll want to do the obvious: reach out to real estate agents in your area, or to other photographers in the area who might need an assistant on bigger jobs. Also, there are many other channels you can pursue, from paid advertising online, to good old SEO, (Search Engine Optimization) or even in-person sales at local events or cold-calling phone numbers you see on local property “for sale” signs.
As with any business endeavor, it can take a lot of hard work to get your foot in the door. The key is to just keep trying different things, and don’t give up!
Should You Shoot For Free First?
It might be okay to photograph one or two jobs for free if you really do need the practice, and can’t promise professional results yet. Just make sure that you’re not being taken advantage of by a client who absolutely could have paid you at least some small amount for your time. There’s something about your sheer dignity, that makes a huge difference between asking for a mere $50 or just doing a job for absolutely nothing.
When you really do know what you’re doing, though, you should be charging money. No matter how many times you hear, “I can’t offer you money this time, but if you do a good job, there’s a chance we can pay you on the next job,” don’t believe it!
See, here’s the deal: When you shoot for free, that client will probably expect to be able to get away with it again. Worse, however, is this- every time you do an unpaid job, you’re building a reputation as a person who shoots for free. This sets a precedent and makes it all the more difficult to charge money later. Imagine trying to charge a client $5,000 or $10,000 for a job, when just a few years ago you did free work for them. Awkward!
So, take pride in your professionalism when you say, “I’m sorry, I can’t accept future business as payment for current work; thank you for understanding!”
What should you charge?
Ideally, what to charge for real estate photography will depend entirely on the area/value of the property itself, the scope of the job, as well as how much time you will spend working on it.
For example, if you can shoot and post-produce the entire job in half a day, that’s one thing, but if you have to spend a few hours consulting with the client, renting the right gear, plus a half-day or a whole day shooting the images, and then, of course, another day (or more) doing advanced post-production, …then you’re going to need to charge a lot more.
Before we move on, here’s a basic overview. Of course, the exact numbers will vary depending on your location, but a “quick” job might only pay $100-200, or as much as $500-1000. A larger job may range from just a few hundred dollars to a few thousand dollars.
Even if you have to start on the low end and work your way up, the absolute best thing you can do for yourself is, to keep track of all the hours you spend on each job, plus running your business in general, …and add it all up. Not only can you determine what you’re actually paying yourself by the hour, but just as importantly, you can determine just how many jobs you can actually fit into a single week.
In future articles, we’ll dive deeper into the business side of real estate photography! Please leave a comment below if you have any particular questions on the subject.
Conclusion | Getting Into Real Estate Photography
This article should provide you with enough information to give real estate photography a try, however, there is still much more to learn! So, stay tuned for additional articles that get into greater detail about the gear, the shooting, and the business aspects of real estate photography. In the meantime, please leave a comment below if you have any questions about real estate (and architectural) photography, the business behind it, etc.


